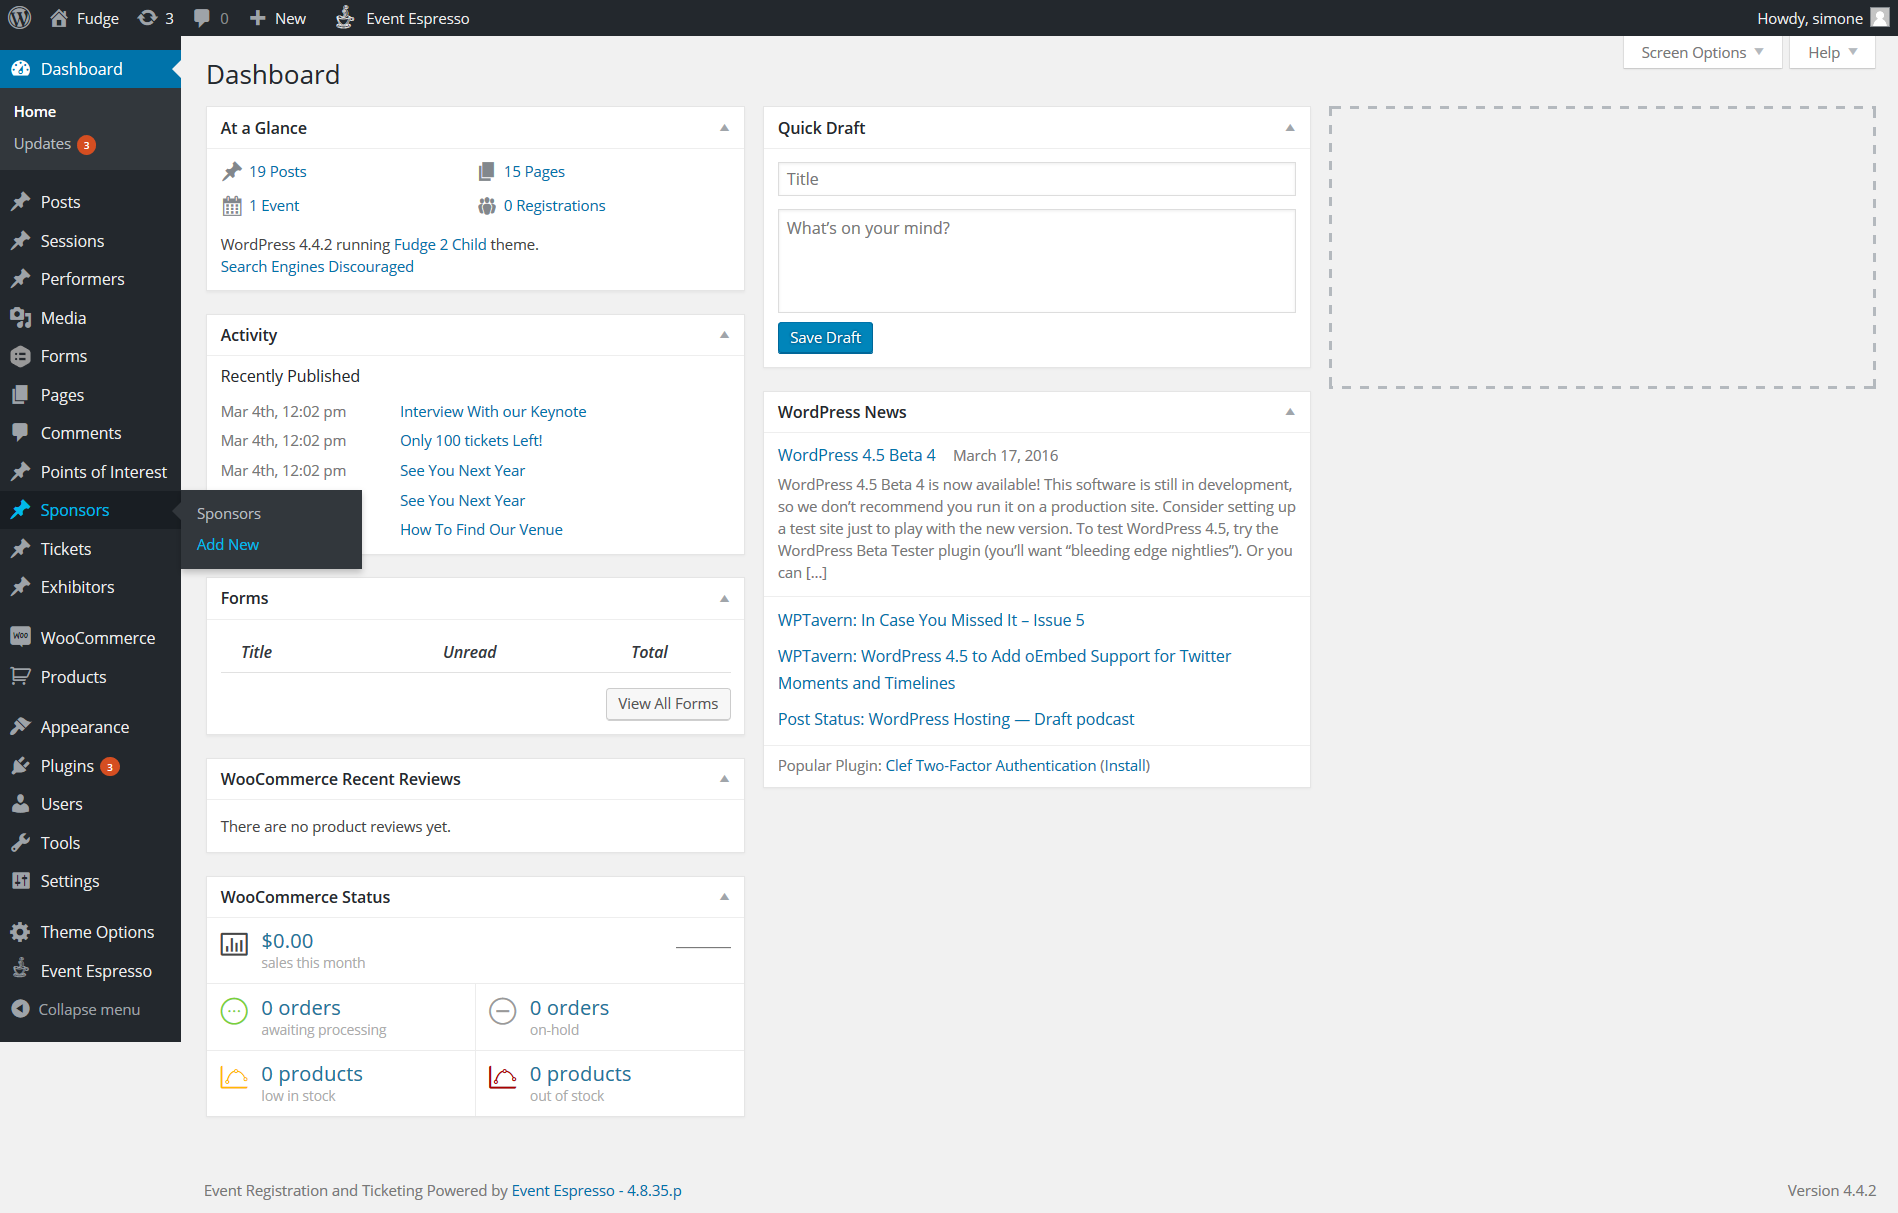
To add a new Sponsor, go to Dashboard » Sponsors » Add New.

Here you will have to provide some information about the Sponsor of your event:
- Title: the name of the Sponsor.
- Description: add a brief description about the Sponsor.
Note: This description needs to be short
to be visible on mobile devices. - Sponsor Details: you can add here a link to the Sponsor. Please note: Ensure that any Browser extensions
blocking ads (such as Adblocks) are switched off. These extension block the word ‘Sponsor’
and the browser will read as spam/ad. - Featured Image: this is where you set the Featured Image that will be displayed whenever a Sponsor is
showed on the website. Recommended size is 392×178 - And of course, click on ‘Publish’ or ‘Update’
Setting up a sponsors page
Fudge 2.0 offers a dedicated page to display all of your sponsors with many different options for customisation. This
page displays a grid of images for your sponsors which when clicked, spins around in an animated fashion to display
your sponsor details. To set up your Sponsors page, navigate to Page -> Add New
- 1 – Title – Provide a title for your sponsors page.
- 2 Content Builder select sponsors, you will then see the available options for the following
- 3 The sponsors will then display and you will need to drag and drop the sponsors you wish to appear on the page
from the top section to the bottom. - 4 This area allows you to set the title and description, decide whether you wish to show the sponsors in large,
medium or small size. You have a variety of options for customising colors and text sizes, margins etc or leave
blank for default settings. - 5 Page attributes leave these as they are
- 6 Lastly, save publish or update your page
