Fudge 2.0 comes complete with a ticket option that allows you to display tickets in three different types,
business, group, features, group, early bird , regular, sold out or on sale. These tickets can then link to other
pages on your site or to external links.
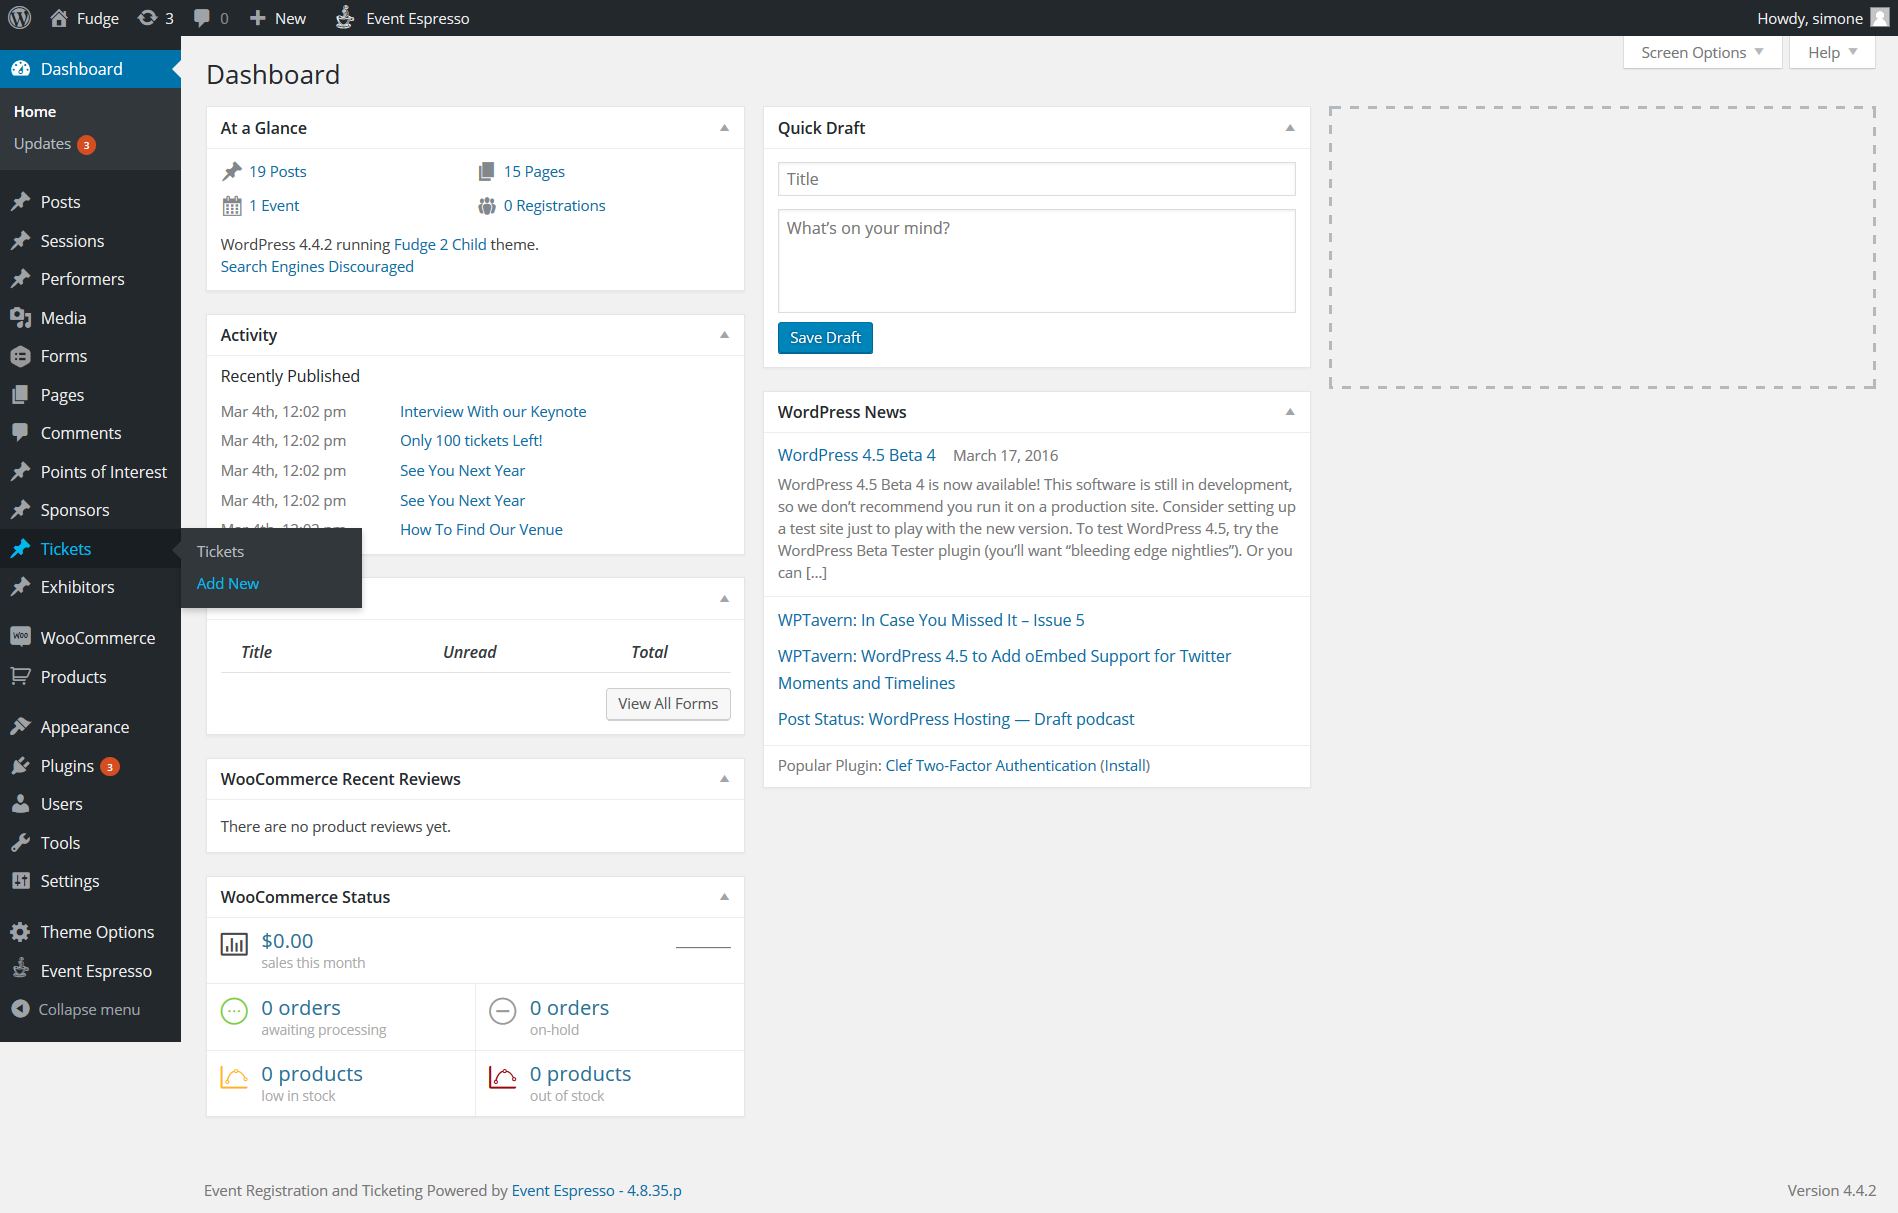
To add a new ticket, go to Dashboard >> Tickets >> Add new

To add a new ticket, go to Dashboard >> Tickets >> Add new
Here you will have to provide some
information about your ticket:
- 1 Title: the title of the ticket.
- 2 Ticket Details: Here you can add the price, the button text, the button link
- 3 Choose the status Featured, On Sale or Sold Out
- 4 Attributes: Here you can set the order that the tickets will be displayed in. The order works numerically
from 1, 2, 3, 4 etc - 5 ‘“ And of course, click on ‘Publish’ or ‘Update’ Repeat
this process for all the tickets you are selling on your website.
Setting up the ticket page
Fudge 2.0 can display your tickets in an individual page, giving visitors to your website a great way to purchase the
tickets you are selling. To set up your Ticket page, navigate to Page -> Add New
- 1 – Title – Provide a title for your ticket page.
- 2 Content Builder select tickets, you will then see the available options for the following
- 3 The tickets will then display and you will need to drag and drop the tickets you wish to appear on the page
from the top section to the bottom, you can rearrange the tickets here to change the order they are displayed on
the page. - 4 This area allows you to set the title and subtitle as well as colours and text sizes, margins etc or leave
blank for default settings. - 5 Page attributes leave these as they are
- 6 Lastly, save publish or update your page
